LTI Tool Setup
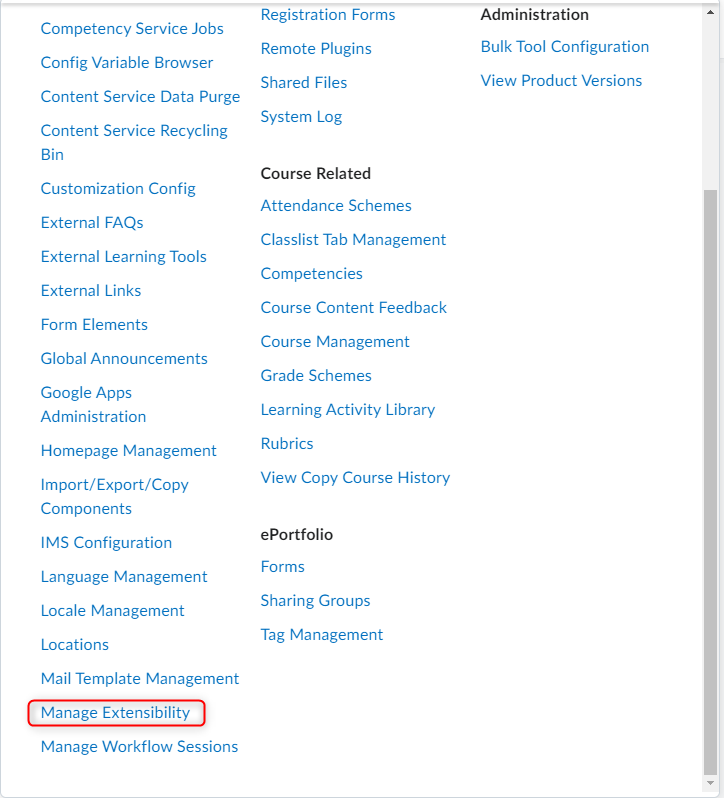
Login to Brightspace/D2L as an Administrator and click on .
Click on Manage Extensibility
Click on LTI Advantage.

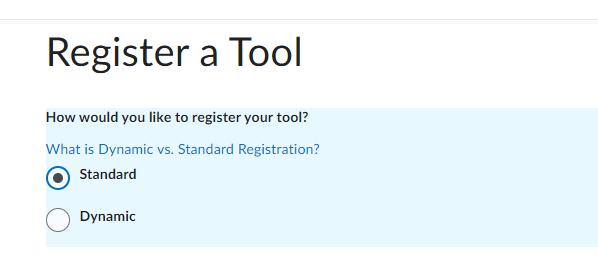
Click Register Tool.

Select Standard.
Under Name enter the name of the tool. (Ex: Gale LTI 1.3 Prod).
Fill in the Description with the database that this is connected to.
Set Domain to https://link.gale.com/apps
Set Redirect URLs to https://link.gale.com/apps/lti/launch
Set OpenID Connect Login URL to https://link.gale.com/apps/lti/initLogin
Set Target Link URI to https://link.gale.com/apps/lti/launch
Set Keyset URL to https://link.gale.com/apps/lti/security/jwks
SelectDeep Linking under Extensions.

Scroll down to Customer Parameters and create two. You will need to name them location and secret.
For the value in location this will be the Gale Location ID. If you do not know what your Gale Location ID is, please contact Gale Customer Technical Support.
For the value in secret this will be the LTI secret generated from Gale Admin. If you are not sure what your secret is, please contact Gale Customer Technical Support.

Click Register.
Deployment
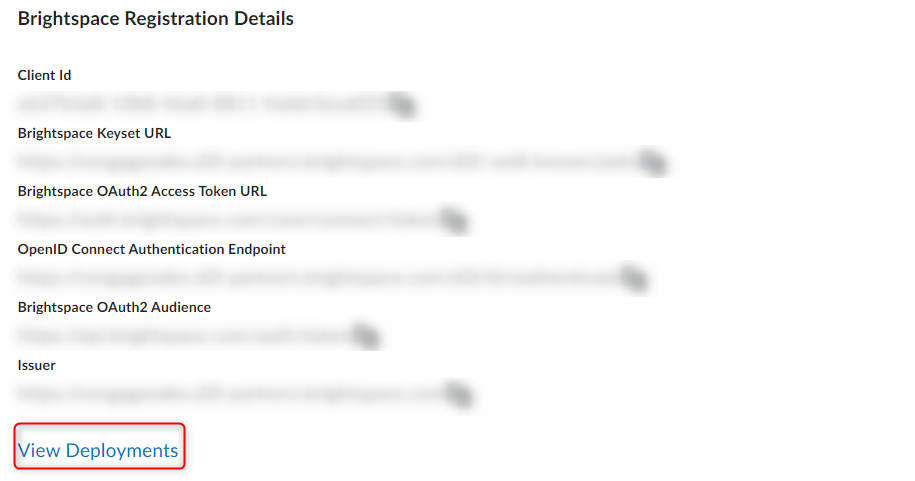
After you have registered your LTI Tool. Scroll down to the bottom of the screen and click on Deployments.
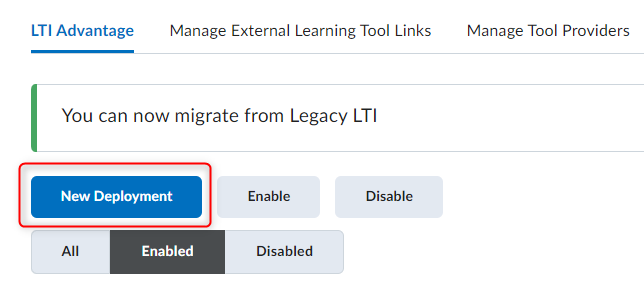
Click on New Deployment.
Select the Tool just created from the Drop Down List.
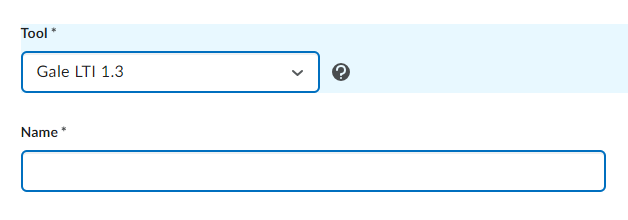
In the Name field enter the name of the database. If you are unsure of Database names, download the list of our LTI compliant Databases LTI Install URLs
Under Security Settings select User ID.
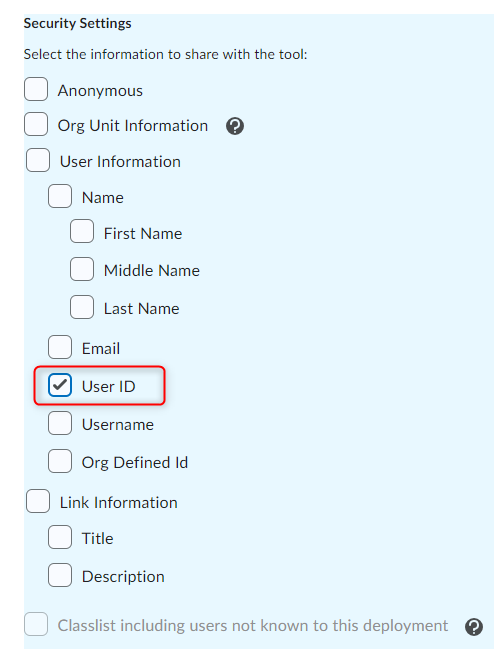
Scroll down to Custom Parameters and click + Add Custom Parameter.
In the Name enter product. For the value enter the Database Code in all capital letters. If you are unsure of Database codes, download the list of our LTI compliant Databases LTI Install URLs.

Add the needed Organizations that this product should be available in and click Save at the bottom of the page.
Click on View Links at the bottom of the page once the deployment has been saved.
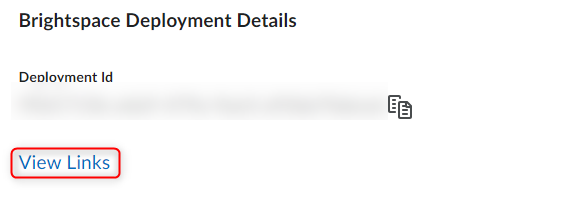
Links
Click New Link
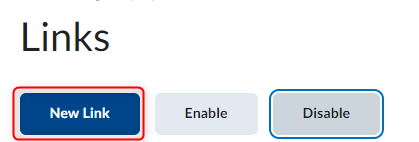
Enter the name of the Database in the Name field.
Enter https://link.gale.com/apps/lti/launch
Under Type Click the drop down menu and select Deep Linking Insert Stuff.

Scroll down and click Save and Close.
The Database is now set up for instructors to use.
Instructors can follow the following guide for accessing it inside of their course https://support.gale.com/doc/lmsinstall-d2l-deeplinking-lti13
