Please Note: You'll need to install each App/Product separately, changing the name and custom parameters for each installation.
From within the Course tab. Select the course where you'd like to add the Gale Resource. Make sure Editing Mode is turned on. 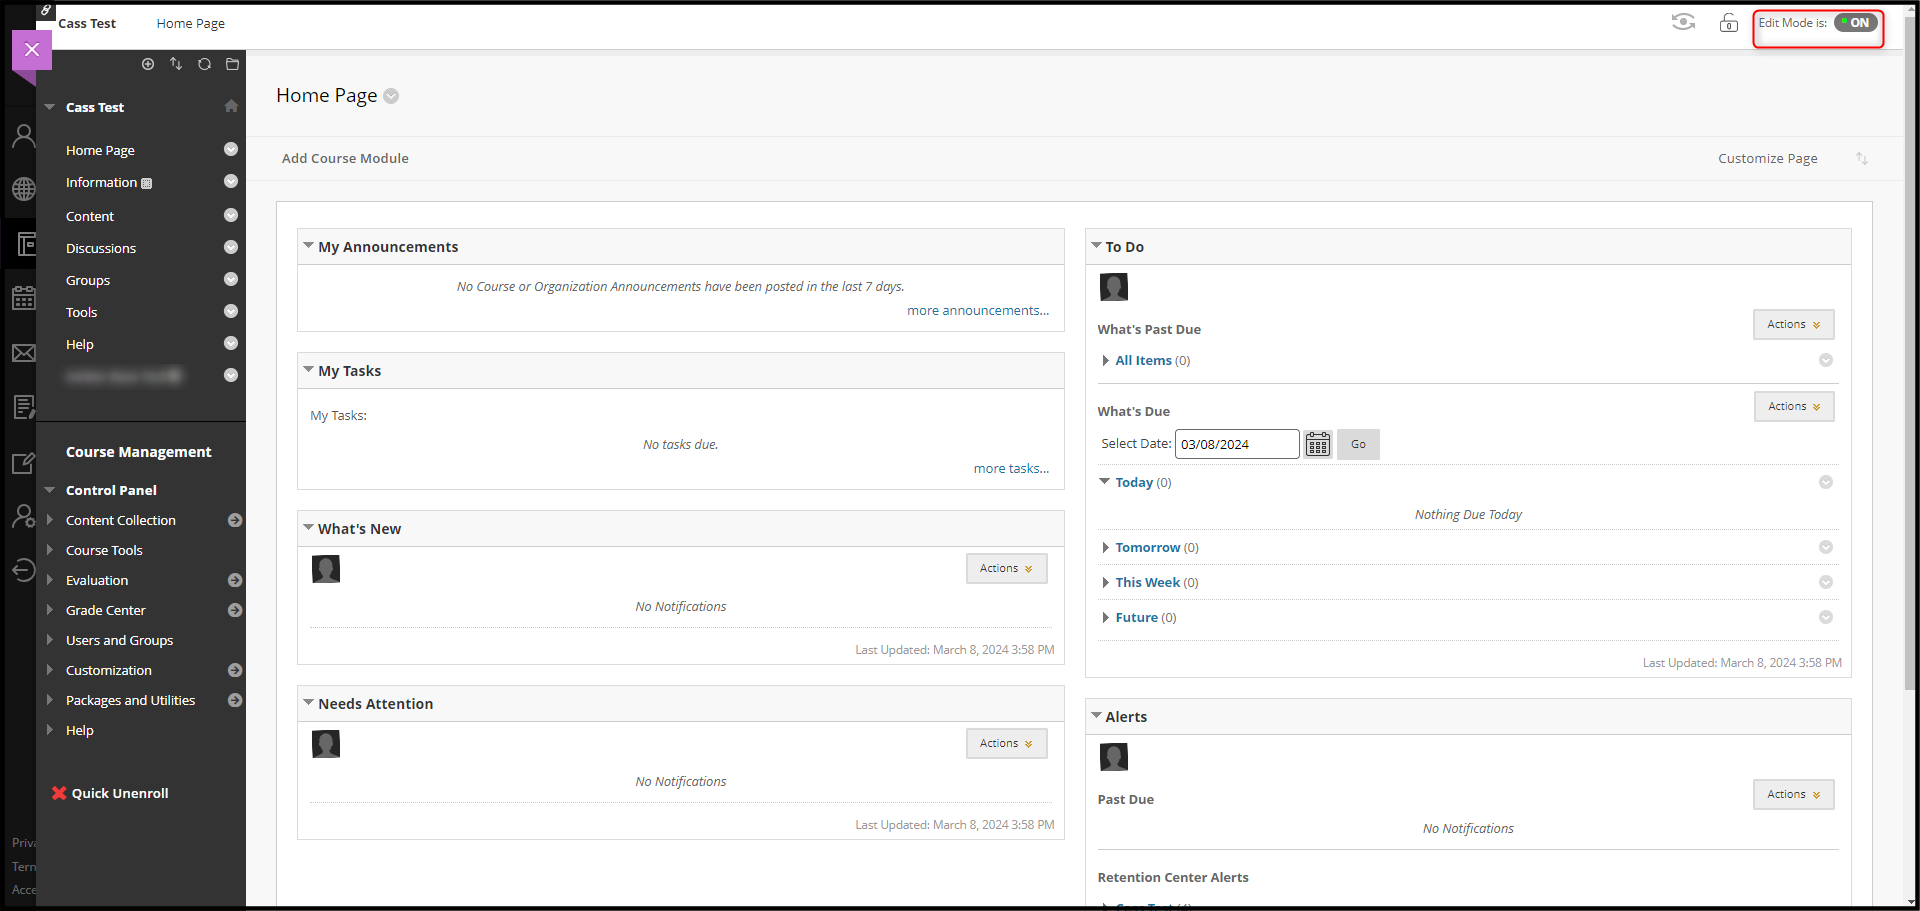
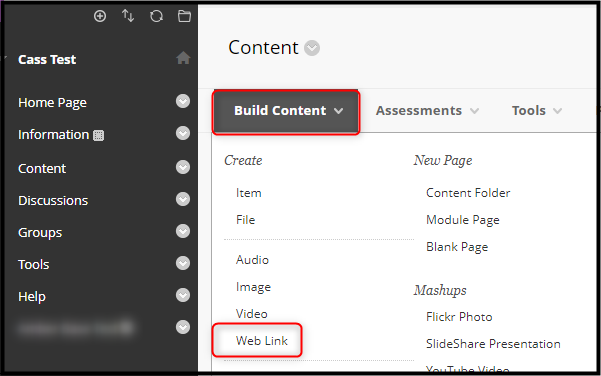
Select Content from the left navigation, then Build Content, then Web Link 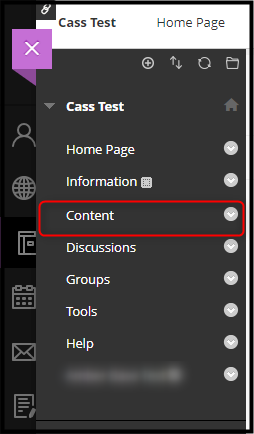
Fill in the information for create a new Web Link, clicking the box next to This link is a Tool Provider. 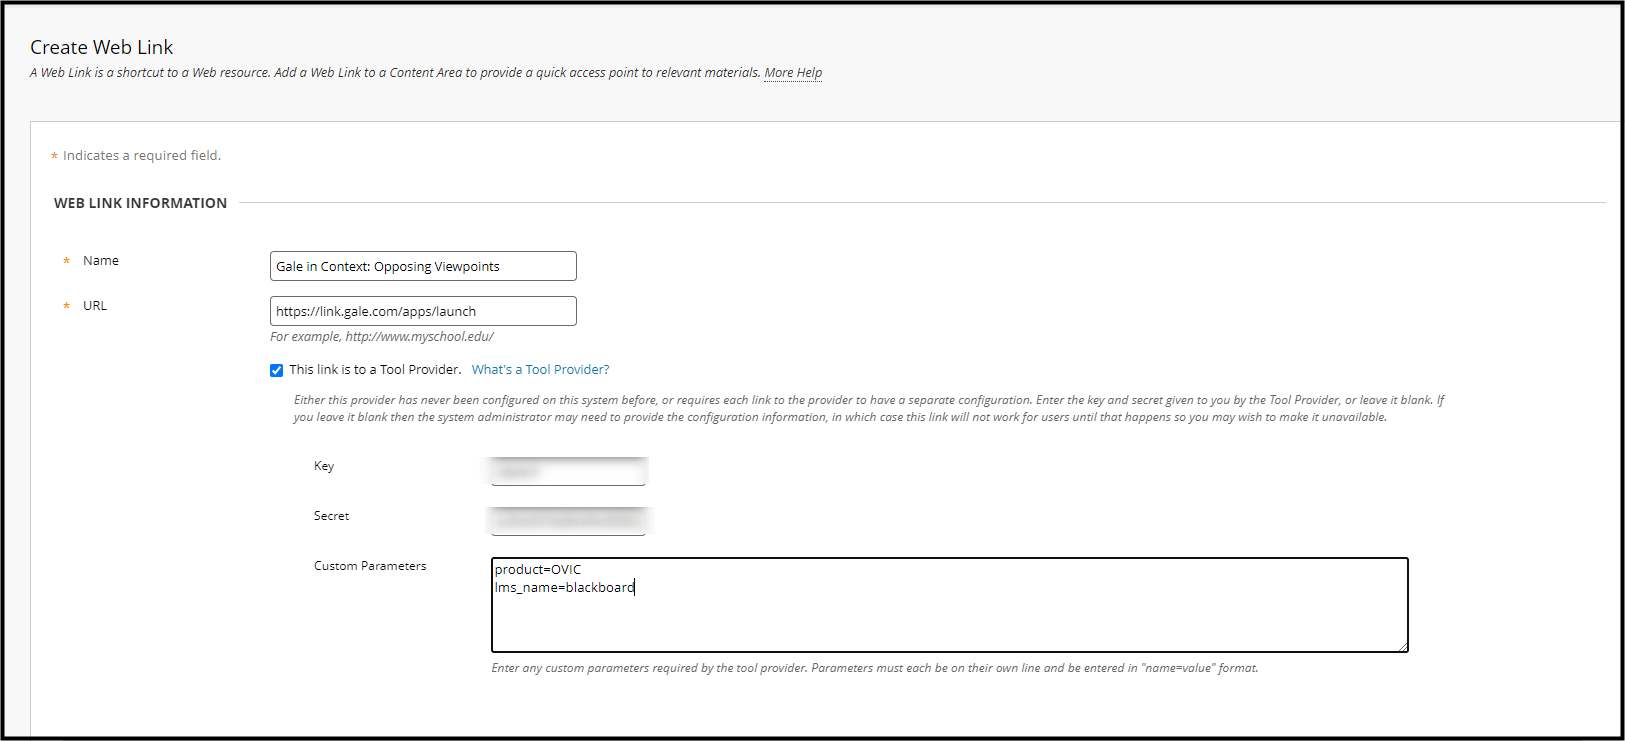
- Name: (e.g. Gale In Context: Opposing Viewpoints, Gale eBooks, Gale Primary Sources)
- URL: https://link.gale.com/apps/launch
- Consumer Key/Shared Secret: Your Consumer Key will always be your Gale Location ID. If you are unsure what your Gale Location ID is, please contact Gale Customer Technical Support and they will be able to assist you with getting your Consumer Key and generating you a Shared Secret.
- If you are an administrator and have a Gale Admin login, please go to Gale Admin and login. Once logged into your account, please click on View/Edit under the Summary Page in the middle of the screen. Please navigate to Location Authentication > Third Party > Scroll down near the bottom to LTI Authentication and click the checkbox to turn on LTI Authentication. Please click on Genearate Secret and click Okay on the notification that pops up. Once you have generated a secret, please scroll down to the bottom of the page and click Save.
- Custom Parameters: Custom Parameters vary by product and are available for download here.
- Example:
- product=OVIC
- lms_name=blackboard
You have the option to add a description and determine whether the resource opens in a new browser window or within the Blackboard frame. We recommend using Open in a new window.
Click Submit.
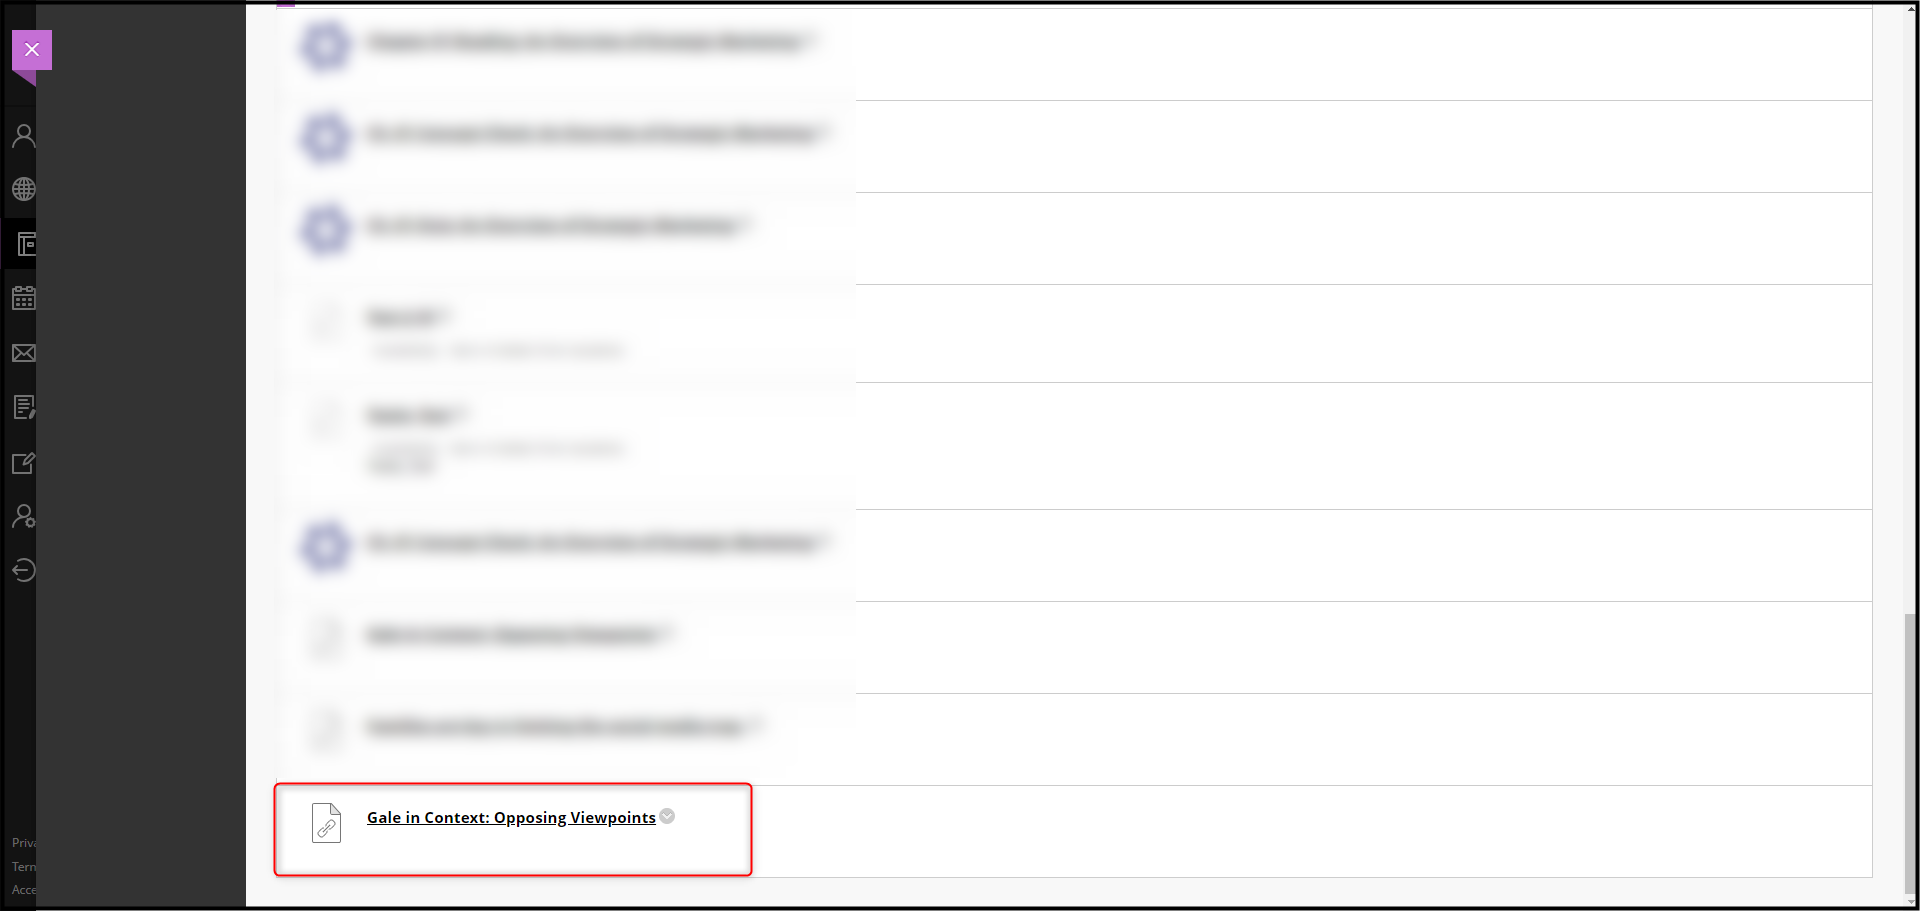
The resource now appears under content in the course. 